

Slow Cooker Immersion Dyeing
FTC Disclosure: Please note that some of the links in this post are affiliate or referral links (full disclosure here), and if you make a purchase or sign up for a service within a certain timeframe after clicking on one of those links, I may earn a small commission paid by the retailer at no extra cost to you. I wouldn't recommend anything that I don’t or wouldn't use myself. Thank you for your support!
This post was last edited/updated in March 2021.
Since learning about using a slow cooker for immersion dyeing, it's my favorite way to dye and I think it makes dyeing so much easier and more accessible especially to people who either don't have time or are too easily distracted to closely babysit a simmering pot. You really can't screw things up using a slow-cooker. There is zero concern of accidentally felting your wool. You can use this to do low-immersion dyeing for those amazing tie-dye locks.
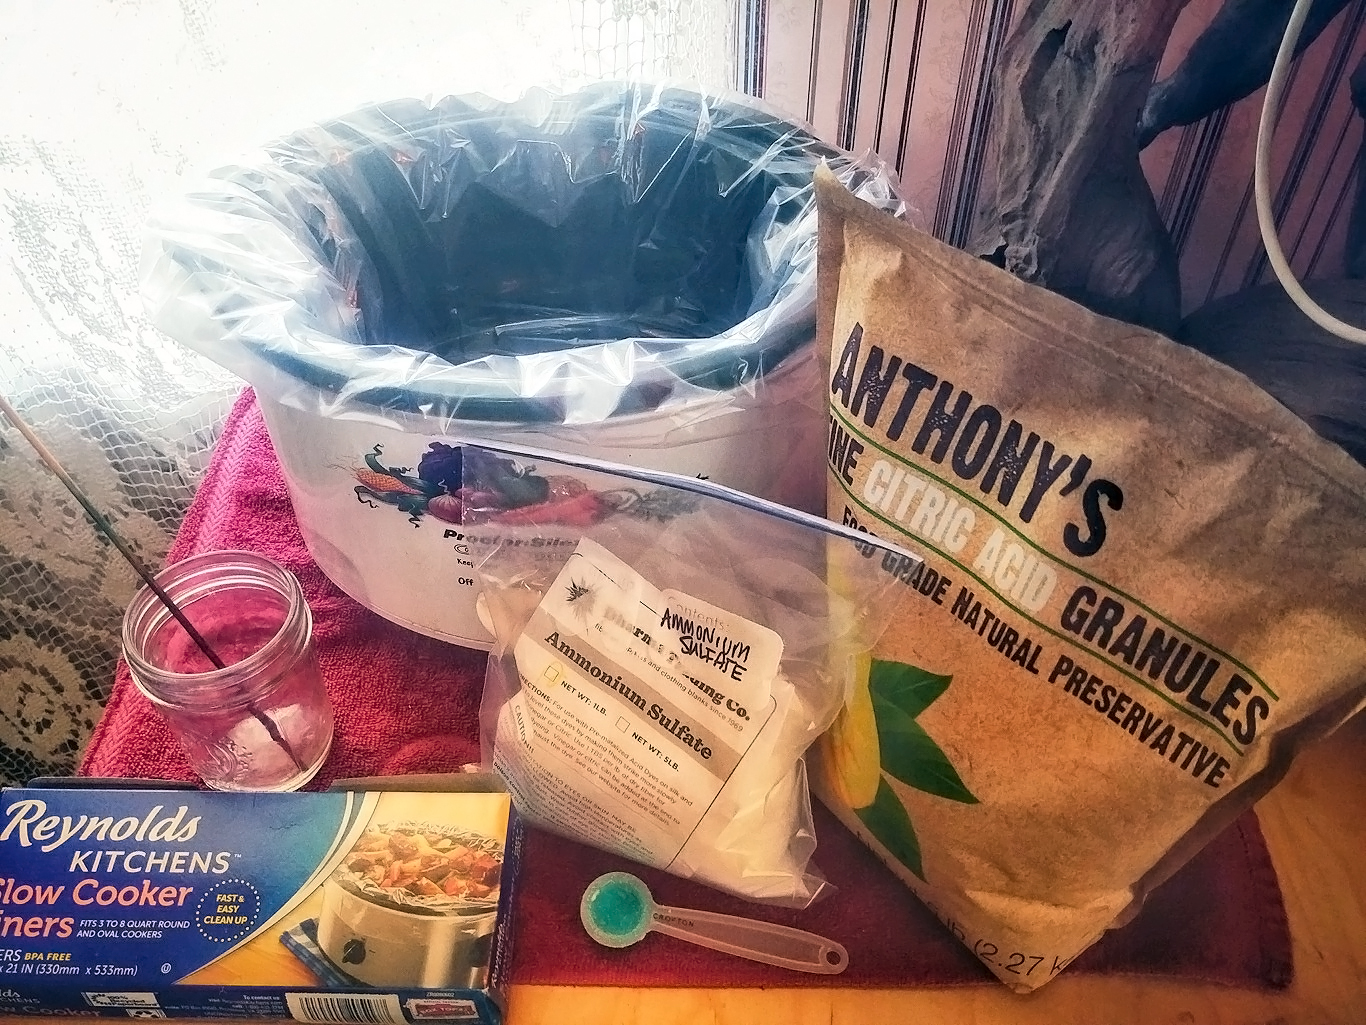
This is my tiny little dyeing set up in my art studio. It doesn't take up much space, and I have it ready to go so I can dye at any time.
The list of items you'll need (most of which are the same as the other dye guide, so check it out for detailed descriptions and links to some of the items). I included the same links I have in the previous guide here, so you don’t have to jump back and forth between posts. You don’t need to buy all of these, and chances are you can find many of these used. Or print this part of the page out and use it as a checklist when you go hunting for them. I just find it easier to direct link to the products as a visual guide since I can’t use downloaded images due to copyright infringement. I do highly recommend getting the milligram scale and scoops, as you probably don’t have that, and it’s really the only way to precisely weigh your dye if you’re trying to be exact with your colors.
As with my other dye guide, I categorized these into three categories: Mandatory (you need it), Recommended (not mandatory, but highly recommended to make your life easier), and Optional.
Also, for your shopping convenience (and because I didn't want to fill the post up with all the alternatives), here's my curated idea list on Amazon with all the things listed below. There are also a few extras and alternatives not mentioned here. I added notes to all the things (and tried to be funny) so be sure to read them, but I am limited to fewer characters than a tweet. For any confusion, refer back to the post.
Mandatory
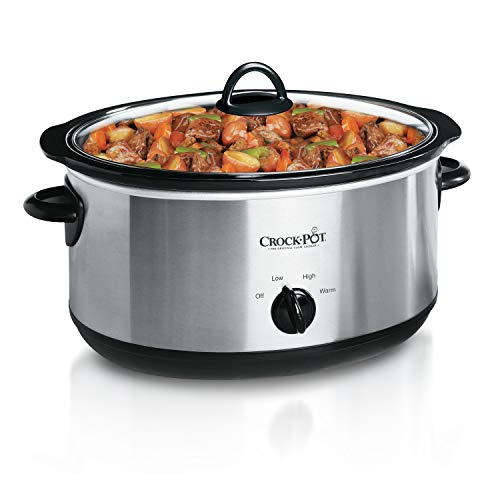
Slow cooker - do not use the same one you use to cook food. You can usually find them in thrift stores, but these days you can get a brand new one pretty cheap as well. I recommend those short oval ones over the tall round ones, in a 6-quart size. The short ones will allow you to learn how to layer and dye locks in multiple colors without the colors running together. Enough for 1-2 oz of wool.
Recommended
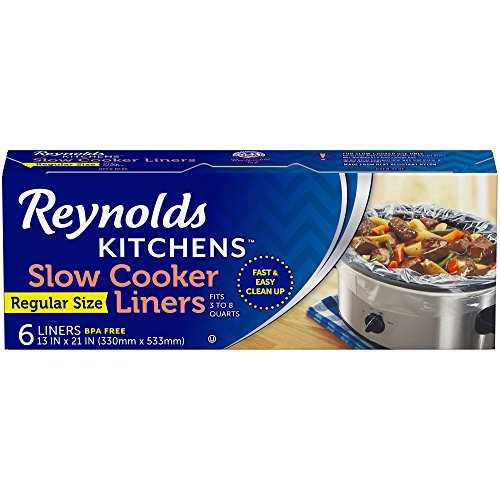
Slow cooker liners - makes clean-up easier. If dyeing similar colors, you can reuse them between batches, but definitely switch them out for color changes. This is not guaranteed to keep your slow cooker free from dye. You still want to have a separate slow cooker for cooking food than the one you will be using to dye your wool. It’s optional, but the less dishes you have to do the more time to dye.
Recommended
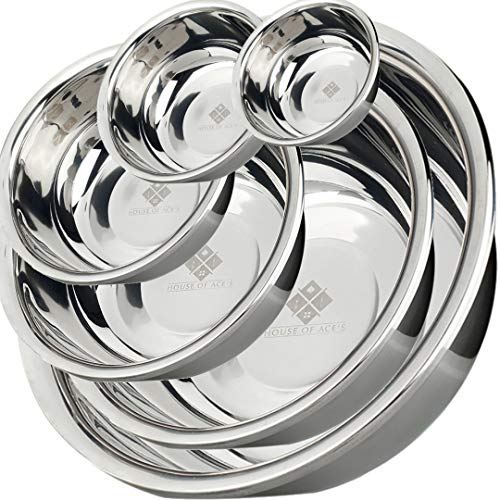
Large stainless steel bowl - You use the bowl for weighing your wool, for soaking the wool, and to hold your dyed wool after you get it out of the pot. You don’t need to use all of these for dyeing - you can save the smaller ones for other purposes. Bowls can come in pretty handy.
Recommended
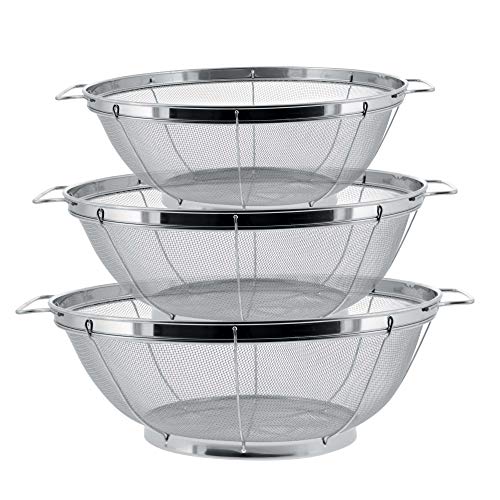
Mesh colanders - You can place the colander in the bowl to make it easier to soak/wash/rinse your wool after dyeing. You can save just one for dyeing, or use all three, but I wouldn’t reuse them for food, just to play it safe.
Recommended

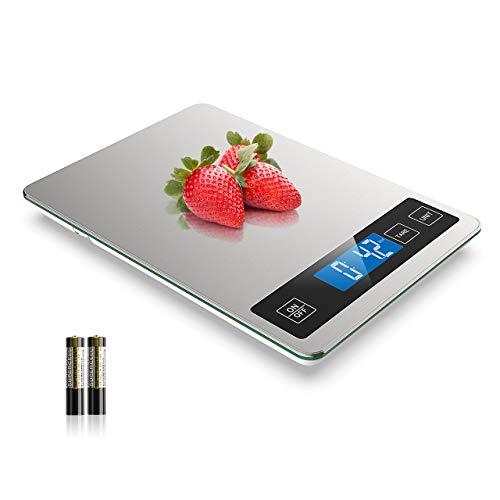
Milligram scale - used to weigh out your dry dye. I really love my scale, especially the tiny bowl. It’s very precise.
Recommended

Tiny scoops - for scooping the dye, since these scales replaced their scoops with tweezers.
Mandatory

Tongs - ones you do not use for food, to move your wool around inside the pot (like flipping it over) and to pull it out when it’s done cooking. You really only need one, so you can put the other ones in the kitchen.
Recommended
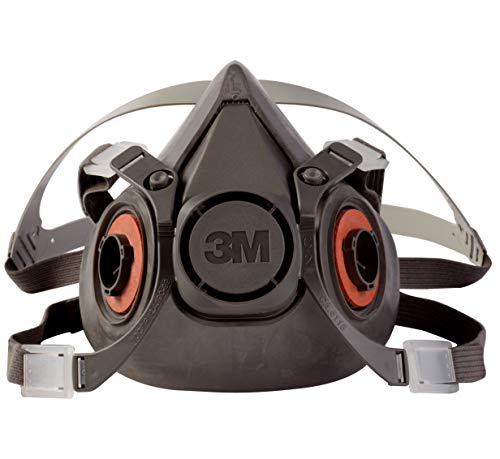
Respirator - You really don’t want to breathe these dye powders. Dyed wool is safe but the powders are not. A standard mask at home should be fine, but this is probably better.

Recommended

Goggles - I personally haven’t had any issue with powder getting all over the place and in my eyes, but it’s better to be safe than sorry. There are no fumes involved in case that’s what you’re wondering.
Recommended
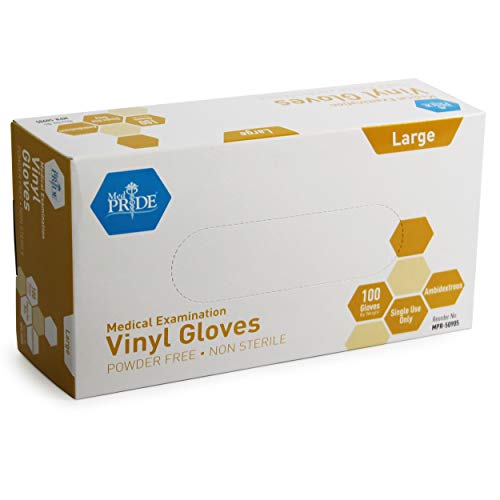
Gloves - I’m a huge fan of vinyl gloves - they seem to be a bit more durable than the latex kind.
Optional
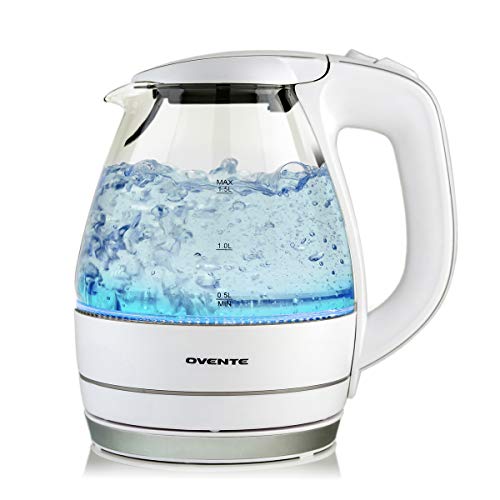
Water Kettle - I dissolve my dye using boiling water, and my electric kettle makes quick work of that. Some dyes pretty much require it. Love that these come in different colors, though!

Recommended
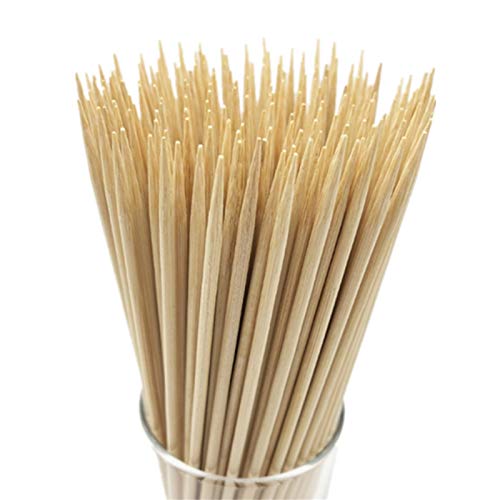
Bamboo skewers - Very versatile, useful to help stir the dye as it dissolves and poke at the wool in the slow cooker. I've been using the same one for years. If these look familiar, I also recommend them in my 3D needle felting guide. I told you they’re handy for other things!
Recommended

Neutral PH wool-safe detergent - Dharma sells Synthrapol. I use Unicorn Clean. Yes, it’s pricier than your standard detergent, but you literally only need a drop in your wool wash. I recommend the Power Scour if you plan on processing your own wool (I get that one in the gallon jug, it’ll last me a while). You don’t need both.
Mandatory

Acid Dye - I am personally a huge fan of both Dharma's acid dyes and Jacquard acid dyes, which can be mixed together. The set above is a good "starter" and will allow you to try mixing colors together (which is how I started, just some primaries). But there are plenty of other acid dyes available out there. This Greener Shades Starter Kit will give you plenty of colors with enough dye to meet your dyeing needs, but are reportedly safer to use at home. There's also a large selection of Pro Washfast dyes here. For more starter dye kits, check out this link. Make sure you're getting dyes for protein fibers.
Mandatory
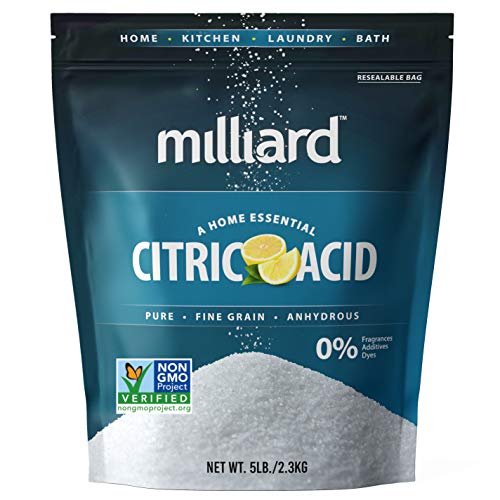
Acid - I like to use granulated citric acid. I'm not sure I'll ever run out of that stuff. Not the same as the one in my photo above, but citric acid doesn’t differ between brands.
Not available on Amazon (so no photo):
Ammonium Sulfate (optional) - this is if you choose to use any premetalized dyes. Many of Dharma's acid dyes are premetalized (which is how they're able to offer so many colors), and while you do not have to use this to dye your wool, you will want this if you want to aim for a mostly even color. Don't get scared off by the word "advanced" - it's just an extra step or two and if you don't use it, it just means you'll get a lot more color variation in the end product. It's a cool effect and we needle felters will find a use for anything.
Glass Jars - how I mix my dye. I’ve done this in mason jars, left over glass spice jars, glass juice bottles. You really don’t need to buy more glass just repurpose what you have (and remember, don’t reuse for food).
Measuring spoon - this is for the citric acid, which is food safe (but I wouldn’t breathe it - it’s still an acid). You can reuse this in the kitchen when you’re done, but if you’re like me you probably already have several sets anyway (because that darn tablespoon always goes missing). Citric acid is not vitamin C! Vitamin C is ascorbic acid, and it’s not as good as citric acid for dyeing.
One other thing I didn't include on the list that you may want to have if you plan on dyeing more than one batch in a day - I have some gallon ziploc bags dedicated to pre-soaking my wool. I weigh out and stuff the wool I plan to dye in the bags, fill with water, squeeze as much of the air out as possible and zip it closed. That way I have several bags lined up ready for the day. Don’t leave them soaking for more than a day though, because it’ll get gross. When presoaking your wool, do not add acid. This depends on the effect you're trying to achieve. With some colors you want to wait to add your acid so you can get an even color. If you're doing rainbow and don't want your colors to mix and want them to set immediately, you add the acid at the beginning.

You don't need to buy special jars, anything will do. Even spice jars. You just need something to dissolve your dye.
Setting up your dye station
I have a little hand towel set up under my slow cooker to protect the surface and catch any spills and drips, though to be honest, having some sort of more permanent set up with a plastic underneath would probably be a better idea. I'm actually using a rolling filing cabinet as my stand since it's in the perfect location - right next to an outlet. On it I keep the following:
Slow Cooker
Jar of citric acid with a measuring spoon (1/2 tsp)
A big glass jar I use for two purposes: (1) to dissolve and mix the dye, and (2) to dissolve and add the citric acid to the bath later
My skewer (for helping me dissolve the dye and to poke the wool)
Tongs (also, not pictured, strainer and bowl for the wool)
If I plan on dyeing more than one batch that day, I have a smaller jar for dissolving the dye for the next batch.
Having a pair of Ove-gloves is also useful for doing more batch in one day, because that inner pot in the slow cooker will be HOT, and you’ll want to dump that water out to get the next batch going. I just dump it down the drain. (I don’t have septic. If you have septic, follow the rules for that.)
A timer (not pictured, see below) - if you're sensitive to the smell that comes with dyeing wool, you’ll want to make sure you get the wool out as soon as it’s set, and you'll want to dump the dye bath out and rinse it out as soon as it's done.
Making sure you keep an eye on the time is imperative with dyeing wool - I would not suggest leaving this to cook all day unless you want your home to smell like you cooked a live sheep. This is currently my favorite timer. I personally don't like really loud timers, and I needed something that is easy to set and allows me to control the volume. I also really like that it’s rechargeable so I don’t have to keep replacing batteries.
I have also used these classic hourglass types (and still do), which are completely silent and very pretty. That being said, I accidentally shattered one, because I think I broke some rule of physics? My hand was significantly warmer than the ambient temperature and the inside of the glass, and the way I was holding it was by cupping the entire end in the palm of my hand. It imploded. So if you have these, don’t do that. Don’t worry, I did not cut my hand. So third bonus reason for the digital one is no concern of random implosions. I am being very careful with my remaining hourglass, afraid it'll implode on me if I simply look at it wrong.
Getting your dye ready
You'll need the milligram scale, boiling water, your jar and skewer for this. Dharma discusses how to paste-up the dye first before completely dissolving (click here and click on the instructions tab). Can I just mention for a minute what an amazing resource this is? While youtube was my source of visually showing how it's done so it makes sense, this is really where I learned most of what I know, as well as correcting the misinformation on said youtube videos. I'm not an affiliate, just a fan. Back to the dye prepping, I've both just poured all the boiling water and stirred as well as trying the paste-up method. I personally didn't notice any difference, even with the premetalized dyes. I think the key either way is to let it sit for a few hours and then give it another good stir before adding it to the pot.
To figure out how much dye I need, I use this free online calculator. If you hate math, I can give you a few basic numbers here. For a nice color, you'll want to use 1%-2% OWG in dye (not sure if that's worded right). Basically you weigh out your wool, and 1% of that weight is how much dye you'll weigh out. The math is actually pretty easy to figure out.
For 1% OWG if you're dyeing 1 oz of wool, you'll want to weigh out .01 oz of dry dye.
For 1% OWG if you're dyeing 2 oz of wool, you'll want to weigh out .02 oz of dry dye.
For 1.5% OWG if you're dyeing 1 oz of wool, you'll want to weigh out .015 oz of dry dye.
For 1.5% OWG if you're dyeing 2 oz of wool, you'll want to weigh out .03 oz of dry dye.
For 2% OWG if you're dyeing 1 oz of wool, you'll want to weigh out .02 oz of dry dye.
For 2% OWG if you're dyeing 2 oz of wool, you'll want to weigh out .04 oz of dry dye.
If you choose to mix your primaries and get cool colors, just make sure that the total of the dyes add up to the total % OWG. So if you wanted to dye 1oz of wool a simple green at 2% OWG, do .01 oz of blue and .01 oz of yellow, and that'll add up to .02 oz total.
The only time this is a bit different is for really really really really dark colors. Dharma recommends several of their dyes to be dyed at 4% OWG to match the color on their chart (noted on the site). Keep in mind which black you purchase if that's one that you need. The true black is premetalized, which will require ammonium sulfate and risks not getting an even color (which if you like a heathered look, not a bad thing necessarily). Their toner black is not.

Make sure you tare the scale with the empty bowl on it before adding your dry wool. Your dye measurement is based on weight of dry goods. Soak it after weighing it out.
The steps for dyeing a single color
Fill your slow cooker with water, leaving about an inch and a half from the rim (where the lid goes, not the top). Turn it on high.
Add the dissolved dye and stir.
(optional) Add your ammonium sulfate. I do 1/2 tsp
Add your pre-soaked wool, using your skewer or tongs to poke it around and make sure it's all submerged. It's okay to move your wool around, that's not the same as agitating.
Set your timer for 1 hour.
Work on your needle felting project, binge watch a show on netflix, get some cleaning done, waste your time on social media or watching youtube channels, read a book, etc. It's your time. Feel free to peek in and poke around your wool. If you're using a premetalized dye, it's a good idea to gently stir it a bit, but it's not the end of the world if you don't.
When the timer goes off, use your jar to skim some of that hot water, add heaping 1/2 tsp of citric acid, dissolve it in the jar and try to pour it around different areas of the pot. Turn off the heat.
Your dyebath should be clear or mostly clear in 1/2 an hour. That's it. If you've got stuff to do, this was the only dye lot you were planning on getting tone today, you can leave it in there to cool off until you can get back to it.

Racka fleece locks dyed in rainbow!
Steps for dyeing multiple colors in the same pot (dyeing locks) - presoak with acid or quick soak & heat as below
Add your wool in a thin layer, add enough water to just cover it and set it on high. Take a little bit of the water, dissolve citric acid (1/2-1tsp), and pour over the wool. Let it get hot. The faster your dye sets up, the less the dye is going to mix in the pot, and you need heat and acid for that to happen.
Sprinkle on your dye where you want it. I want bright, bold, saturated colors, I'm not worried about exhausting the bath, and if I dissolved it first I would be at risk of the colors mixing more than I want. When dyeing a single color for a project I try to be as exact as possible so I can replicate it if I need to, especially if the wool is meant to go in kits. This is more of an artistic process.
I do this in a thin layer, but even with that you risk not getting the dye all the way to the bottom. Come back in about 30 minutes and very gently lift the edges of your wool to see how the dye is setting and if enough dye got to the bottom. If not sprinkle some more in the spots that need them.
Put the lid back on, and try to do your best to wait patiently. I know it's hard.

My first attempt at dyeing rainbow - I used way too much water, and I ended up with a weird rainbow brown. Don’t do this.
Dyeing multiple colors (not locks)
Similar to above, but not in a thin layer. You want it pretty packed. Make sure the pot is hot (near simmering) and you have acid in there. You can sprinkle dye on or dissolve and inject with a syringe. For best results, do one color at a time, wait a few minutes and let it set. Blues take the longest to set so start with that color if you're using it (or anything with blue in it). Once it looks like its set, add your next color. And so-on. Flip the wool over to make sure you get any white spots underneath.
Removing the wool
Using tongs, remove wool from bath into bowl, holding it back to pour off liquid back in. Set aside.
Put on your oven mitts and take inner pot to the nearest sink to dump out, rinse and repeat. Or just dump out and rinse if you're done for the day, or fill if you're gonna dye more tomorrow - then it'll be ready.
Wait for the wool in the bowl to cool off.
When the wool has cooled off, remove it, pour room temp water into the bowl, add a bit detergent (just a dribble), add your wool and gently swish your wool to rinse out. This will get rid of any trapped dye that didn't make it. Pull wool out and set aside in the sink, dump water out, fill bowl with fresh water, rinse wool. I do two rinses.
Put your wool in a strainer/colander and let it drain.
Once you're done, spread out a towel, spread the damp wool on the towel and roll it up. Squeeze/stand on towel to press more water out. Unroll and set the wool aside to dry. This speeds up the drying process.
And that's it! Simple enough, right? Plus, you'll feel productive even if the only other thing you did that day was browse Netflix or lost track of time on social media. Once you get the hang of it, you'll never need to worry about whether or not you have the right color for the job, or enough of it - you can always just dye some more.
update 2/2019
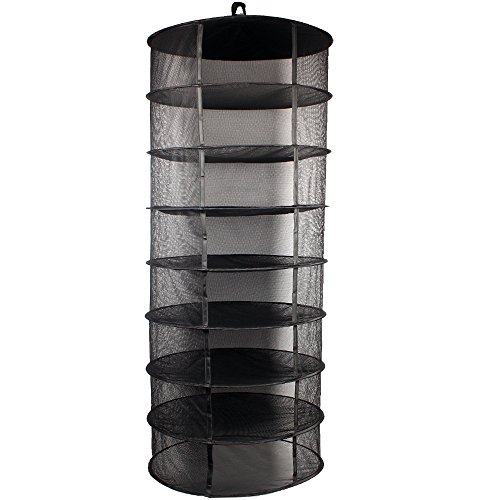
One thing that has helped me speed up the rinsing process at the end is using the Avalon eco-spinner, and a hanging mesh herb drying rack (links below). I no longer need to roll my wool in a towel, and it is usually dry by the end of the day if I dye in the morning.


Something I didn’t consider when buying mine, but if you plan to hang yours outdoor and it gets windy, picking it up off the lawn isn’t fun. Zippers!

Another thing I do, is sometimes if the wool is left cooking for longer than necessary, it starts to smell a bit. There’s a fairly short window between the dye being set and when that starts to happen, which is why I now check at 1 hour. It does not harm the wool from my experience, and it goes away after it dries, but to me it’s still noticeable. So when I’m rinsing, I now add lavender essential oil to the rinse water. I think the lavender also helps to keep the wool moths away. It’s one of a few essential oils, cedarwood being another, that deter wool moths, and it smells good.
Happy dying!

